PatternMaker
gary — 2015-07-30T21:37:51-04:00 — #1
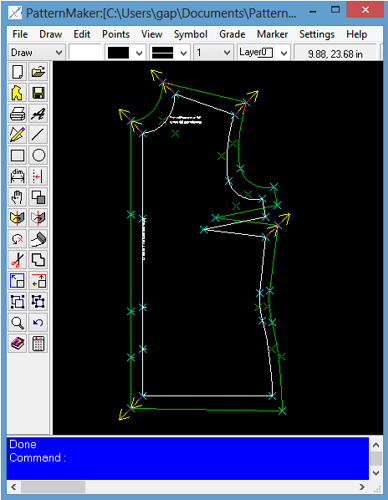
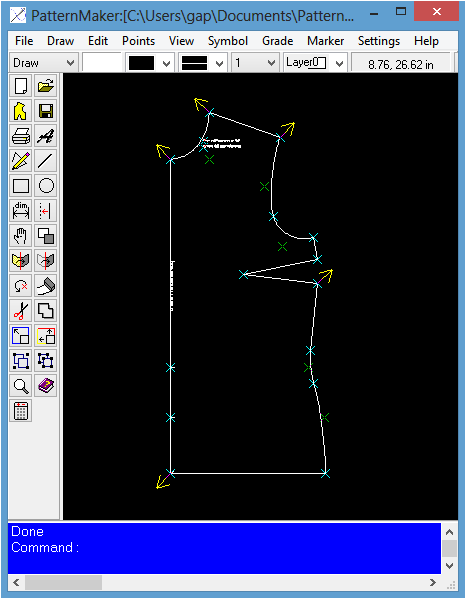
I got a question about how to Grade down as well as up. If the base size is 10, how to create a size 8. For this example I simplified Leena's fitting bodice and added demo grading arrows. GradingBodice.pat (9 KB)
Grade Up
Run the grading command with
Grade->Grade
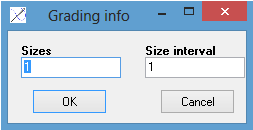
The size/interval dialog will appear. Enter 1 and 1 for one size in steps of one.
The new size is placed on the next layer, which is why it is colored green.
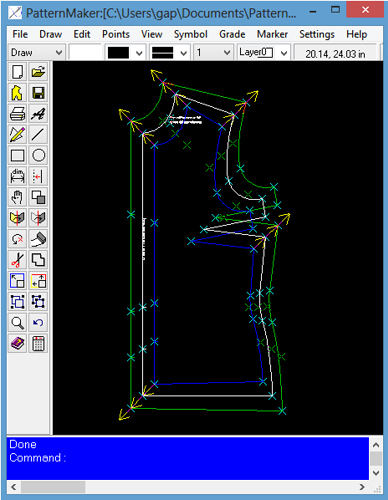
Grade down
Run the grading command with
Grade->Grade
In the size/interval dialog enter 1 and -1. The minus one means grade down.
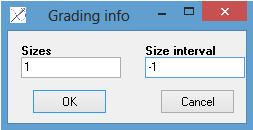
After Grading the drawing is.
coco — 2016-02-09T21:32:39-05:00 — #2
Was not aware before reading that post that negative grading were possible with PM. (the little -1 in size interval). I was working on the smallest size, then grade it, try the pattern for my size or someone standard and correct it by going back to the original pattern (smallest size) and regrade the whole lot again. What a time saver now I can work on my size and then grade up and/or down.
thanx for that post.
gary — 2016-02-10T04:13:35-05:00 — #3
Coco,
You are welcome! It is nice to get positive feedback
-Gary
jane — 2017-02-27T18:06:00-05:00 — #4
if I manage to learn the CAD and need a bit of help,I was thinking of upgrading to the grading version,is this possible and how much will it be,have the professional one now,may have to wait til the exchange rate gets a bit better
jane
gary — 2017-03-07T09:25:19-05:00 — #5
@jane To upgrade you pay the difference between the two versions.
brianp — 2017-03-07T18:00:11-05:00 — #6
If you grade down, be sure beforehand that your first pattern isn't on layer 0; you need to give enough layers to grade down onto or else the extras will "wrap around" to Layer 23 and use the wrong grading breaks, if you have breaks.
You can move an object to another layer with Edit->Change->Change Object->Layer